Electronic shifting is not a new idea in the mountain bike world. Shimano has the 1x11 or 2x11 Di2 system which debuted in 2015. But with the introduction of SRAM 12-speed Eagle Drivetrains in 2016 - riders quickly ditched 11 cogs — and left electronic shifting with it. Now with SRAM Eagle AXS, riders can have their cake and eat it too, as it were. Monstrous 12-speed cassettes with wireless options — hooray! What is the price of new technology, however? A large hit to the wallet — a full AXS drivetrain can cost as much as a complete bike… Enter the Eagle AXS upgrade kit, the price to play is lower, and I think you’ll want to play.
Specifics / What's Included
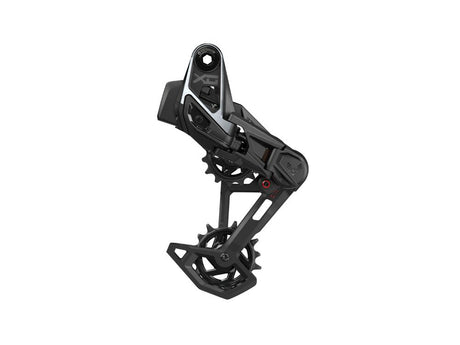
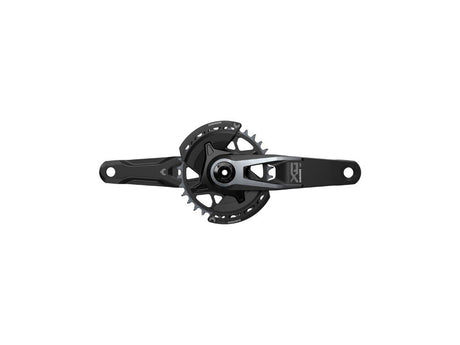
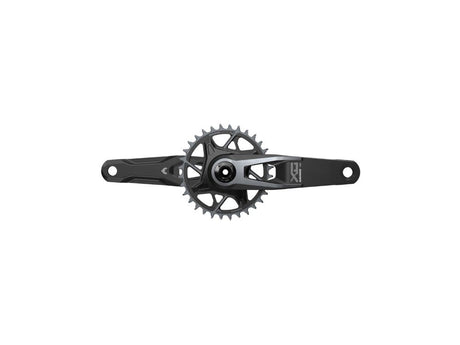
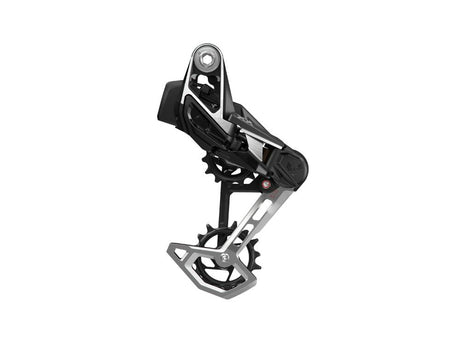
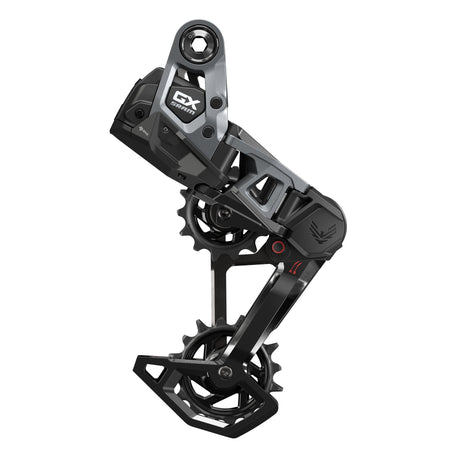
The XX1 variant of the AXS upgrade kit cost $1000 USD, while the and XO1 costs $800. About half of the full AXS drivetrain. So if you have an Eagle cassette and Eagle chain - the cost of this upgrade kit is a bit easier to swallow. But hey, wait, the XX1 and XO1 kits cost the same? Weird, right? The only difference in the kits themselves is the derailleur. XX1 having Titanium hardware and a carbon outer cage arm. While the X01 has Stainless Steel hardware and a full aluminum cage. So if you want the lightest possible option — go XX1. If durability is your thing, go X01. I chose the XX1 upgrade kit. Even though I’m using it on my enduro bike, I figured if I hit the outer cage arm hard enough to break carbon, it would surely bend aluminum. In which case, I’d have to buy a new cage anyway. Plus the XX1 color-way speaks to me.
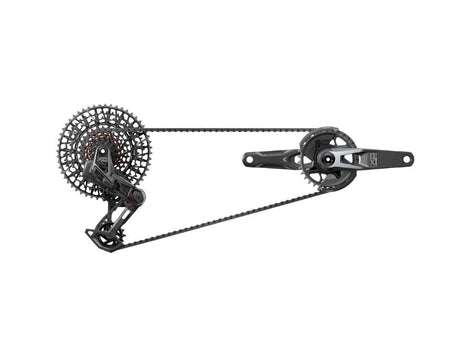
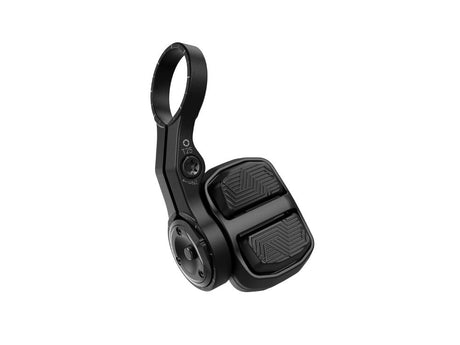
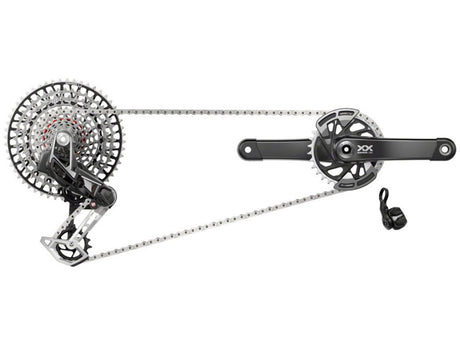
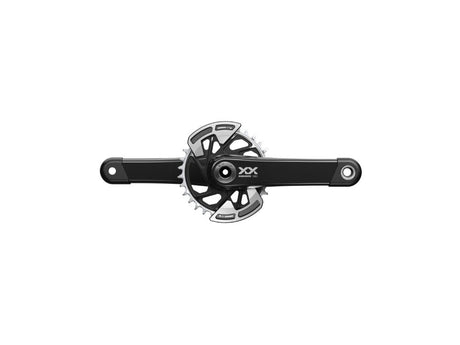
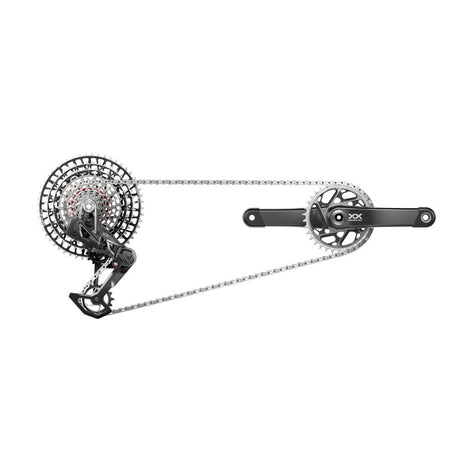
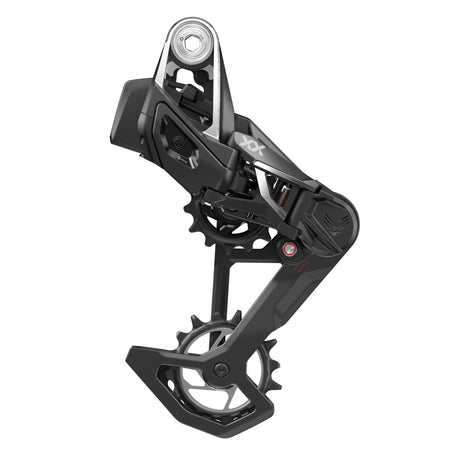
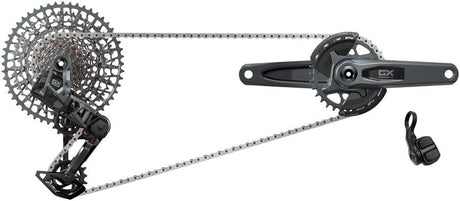
Included in the upgrade kit you’ll find the derailleur, controller (shifter), battery and charging dock, charging cable, SRAM MMX mounting clamp and B-Tension tool. Everything you need to install Eagle AXS at home, or hand over to your local bike shop.
Installation and Adjustments
I always found mechanical drivetrains a daunting experience when it came to installation. So I did have some anxiety when it came time to install the AXS kit. But after you bolt up the derailleur to the hanger (11 Nm), and get your chain on, you are in the clear. Since there is no cable to run from the handlebars to the mech, you can go straight to setting your high and low limits and B-Tension (chain gap) after you pair the system together.
To pair the controller to the derailleur, and start setting your limits, you need to locate the only button on both pieces. Push and hold on the derailleur button until it blinks. Then do the same on the controller. Then go back and push the button on the derailleur once to complete the pairing process. It’s that simple. You do NOT need the AXS mobile app in order to install the kit. I actually forgot the app existed until the next day, and I remembered you could adjust how many shifts occur when you push and hold on the controller. Now that your controller is shifting your mech, continue as a normal Eagle install. Setting the high and low limits, and chain gap.
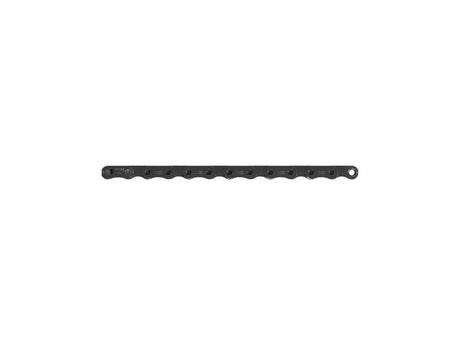
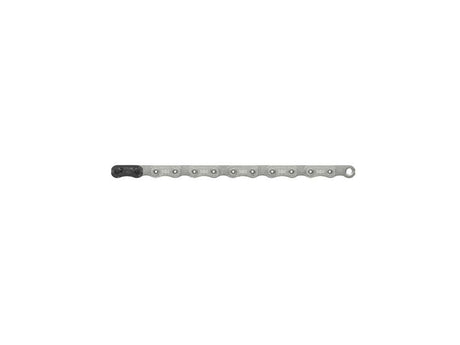
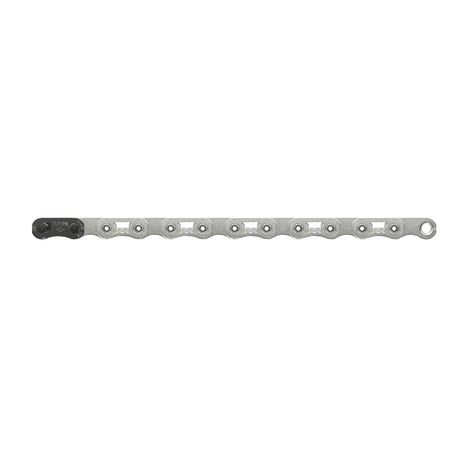
An added benefit to AXS over a standard mechanical Eagle drivetrain, is the derailleur cage is 10 mm shorter - meaning you have more clearance on the trail. This is also why the B-Tension tool is different from the standard Eagle tool. (AXS is purple, Eagle is red) Be sure to use the AXS purple chain gap tool during this install that came with your kit. When sizing my new chain for this install, I pulled my old one off, and cut the new one to the same length as a starting point. But because of the cage being smaller, I had to remove an additional link. So whether you buy a new chain, or re-use your existing Eagle chain, keep this in mind.
Having breezed through the installation instructions here — should you need more information — head to YouTube for many install videos. Visuals always help.
Once my drivetrain was shifting smoothly from largest to smallest cog, I went for a ride! With a new chain, and new gear, I wanted things to settle in before making minor adjustments. Which I ended up having to make after all. Much like how the barrel adjuster worked on the cable activated shifter, you can perform micro adjustments to AXS as well. Pressing and holding the button on the controller enters the micro adjustment “mode”. While holding the button on the controller down, shifting up or down will adjust the derailleur in that direction approximately 1 mm. So if you are having some hangup when shifting down or up, this would be the way to fix that.
Alright, final note on installation. Science was begging me to weigh my old setup versus the new setup. And weigh them I did — taking into account every ferrel and cable end I had to cut while removing the old equipment. SRAM does state that XX1 Eagle AXS is 5 grams lighter than it’s equivalent mechanical group set components, but I found my weight difference to be closer to 14 grams. (As if I could feel it anyway - 0.5 ounce difference)
How Does it Ride?
Shifting for the first time using AXS definitely is a mental shift when on the bike. Every throw of the controller is exactly the same, with the same tactile feedback. You obviously no longer feel the cable tension change based on your gear, or movement of the suspension. It makes the whole experience seem more precise. That coupled with a robotic sound coming from the derailleur every time it moves, makes the system feel expensive - as it should. It’s really a neat sensation, giving me a new perspective on shifting. Not sure if it was just me, but I would be shy about cranking out 3-4 gears before a steep climb. My paranoid mind thinking it’s causing undo stress on the system. That anxiety is completely gone for me now using AXS, I know it will shift no matter the condition, and no cable can break to prevent me from riding.
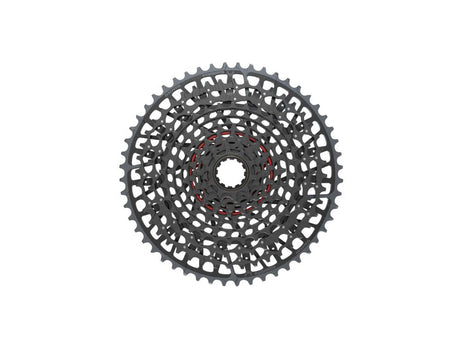
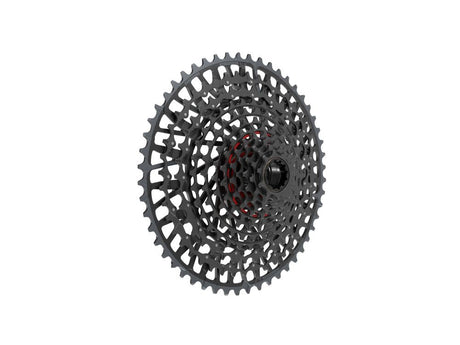
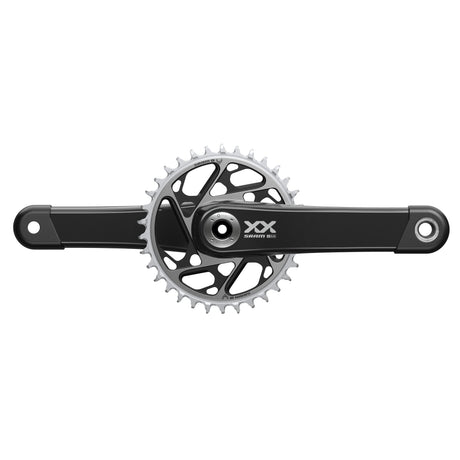
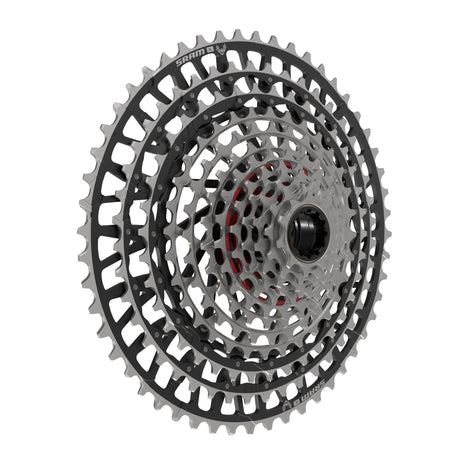
The actual shifting performance is unchanged from the mechanical Eagle set. Because the cassette, chain and chainring are all the same, the moving parts are identical, so it makes sense it would be unchanged. The advantage with AXS though is the micro adjustment mode for the derailleur which can give you repeatable adjustments to dial it in.
Since the install, I have been on quite a few rides. Dusty and dry Fall conditions in Colorado. And then wet, muddy conditions in Arkansas where I experienced Bentonville trails for the first time. I was worried about water ingress issues with the controller and derailleur, but through it all, everything continued working. SRAM states the system is IP69K rated. IP stands for “Ingress Protection” and follows an international standard for companies to test their products against. The “6” in the rating relates to intrusion or dust protection. “6” is the highest possible protection — meaning it is totally dust tight. “9K” relates to moisture protection, and in this case, also the highest possible rating. Water under high pressure, high temperature or steam applications will be kept completely out. Riding in the rain is not the most extreme application, but having my bike on top of my car driving to Arkansas, saw rain and water from the road hitting the controller directly at speeds of 80 mph. So I am pretty confident in this rating by SRAM, and there should be no concern when you are even washing your bike. The water protection you can clearly see, is a raised rubber gasket surrounding the battery pickups:
Cons
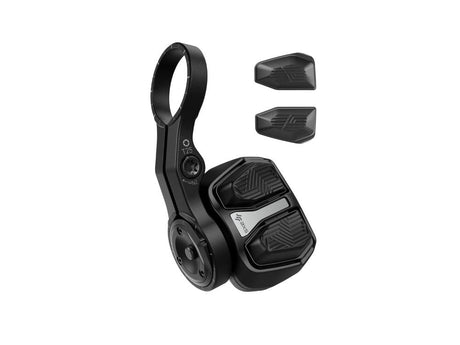
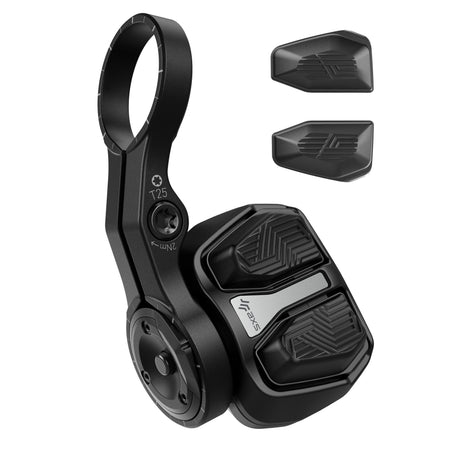
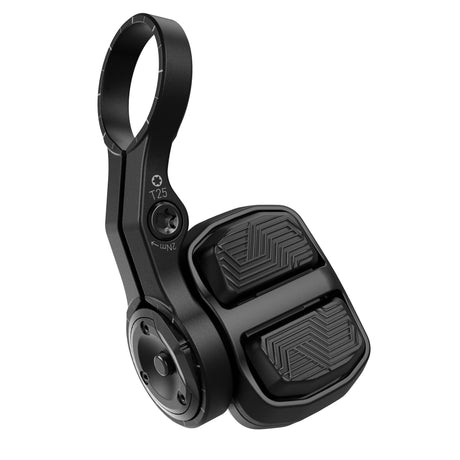
My biggest issue with Eagle AXS, is the controller. The buttons for shifting up or down are not spaced anywhere close to a mechanical shifter. This was the thing I had to adjust to most. There are actually three ways to activate the controller. The lower button, the upper button, and the front facing trigger that also activates the upper button. Through the AXS mobile app, I configured the bottom button for my downshifts (going to larger cogs). And then configured the upper button for upshifts (going to smaller cogs). Because of how the upper button is positioned, I ended up exclusively using the front facing trigger that I could hit with my index finger. There is no moving your thumb from the lower to the upper button, it would be more of a rolling gesture, which I don’t like. I have adapted to the system, but feel the ergonomics could improve here.
Another negative is the battery management. Besides charging the derailleur battery before the install, I haven’t had to recharge or think about the batteries. At some point down the line, I will though. Which kind of stinks. My bike is now another gadget or tool I need to make sure is charged before taking out of the house. I would buy multiple spare batteries, but at $55 USD a piece, I’d rather not. The derailleur battery is supposed to last up to 25 hours of use and takes at least an hour to fully charge from dead. While the controller battery is supposed to last for a year of riding, and cannot be recharged — rather you buy a new wafer style cell.
While taking photos for this review, I also noticed the derailleur casing itself was hit by a rock, presumably, and cracked it. I am not sure if this casing protects any vital electronic equipment or not. But at the time of writing this, I am following up to confirm, and see if it is something I need to be concerned with. Here is a close up of the impact spot and crack:
Final Thoughts
I can’t deny that I love the new Eagle AXS wireless system. I joked with a buddy after the installation, saying it gave me the same sensation of cancelling cable TV. Not only does my bike look cleaner without the cable or housing running through it, maintenance and adjustments feel cleaner too. I can access everything, take things apart, move them - and have it all go back together without adjusting a cable. So nice.
Besides the cracked cover on the derailleur, everything feels robust. I even intentionally tested the break away clutch in the mech to see if it really did move out of the way, and move back. It sure did.
Pricing is still tough to get around. But the silver lining is now mechanical Eagle group sets will come down in price, and not before long, we’ll have another competitor for 12 speed wireless shifting — and then the consumer really wins. At the beginning I said you’ll want to play, or give this product a try. If you have the means, and an old Eagle part just wore out on your bike, definitely consider AXS. Or if you’re building up a new bike, and want the quickest install and cleanest arrangement, this is it.