Intro
Upgrading your suspension is one of the most common routes for customizing your mountain bike, and switching from an air shock to a coil shock for added traction is incredibly popular. The only issue is that there are quite a few steps to take between deciding you want a coil shock and riding that coil shock. In this article, we’ll be documenting every step you’ll take to get your new coil shock trail worthy and dialed in for you and your bike.
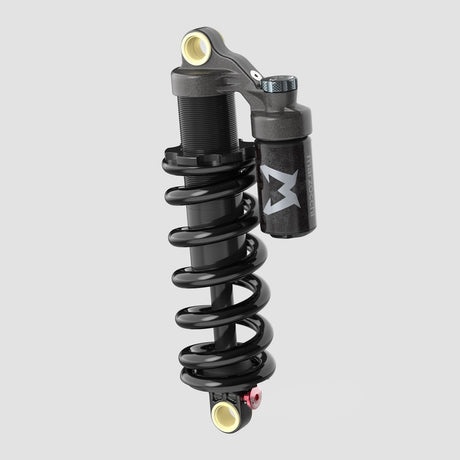
1) Choose A Shock
Before we can even get to installing and setting up your coil shock, you have to buy the dang thing!
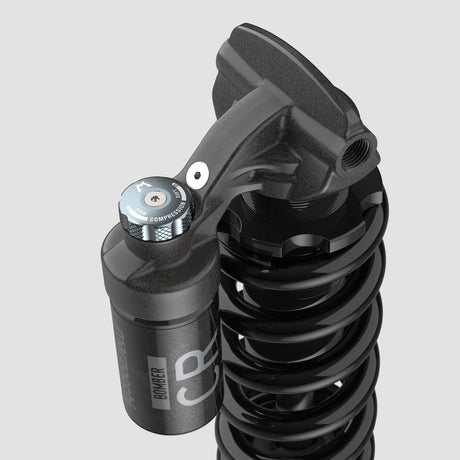
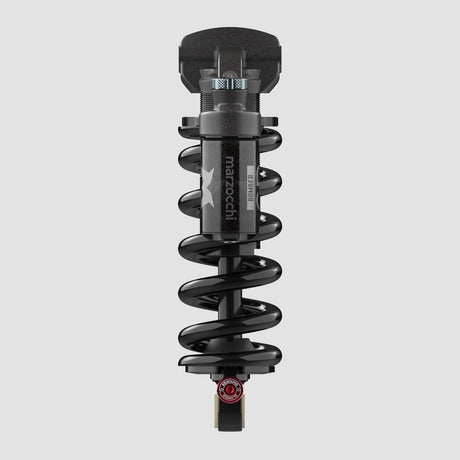
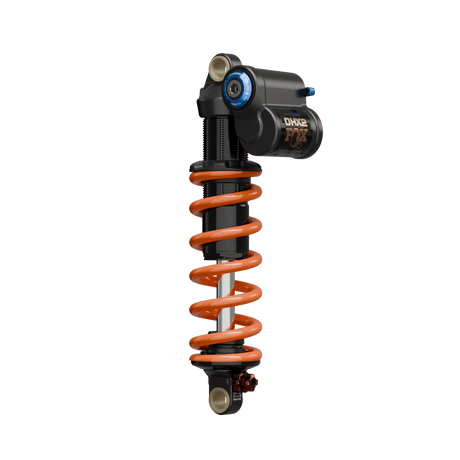
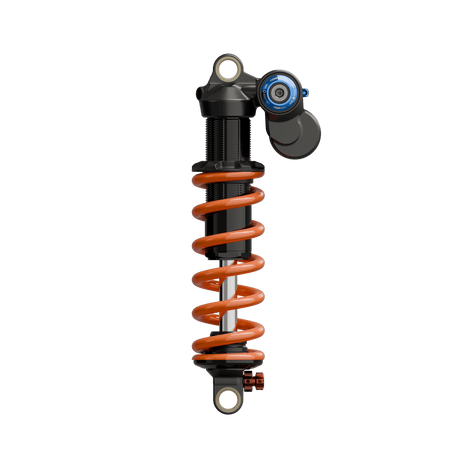
Choosing which coil shock to buy can be a daunting task, but don’t worry, we cover our three current favorite options and we know that any one of those will be a great fit for just about every trail, enduro, or downhill bike on the market today. We’ve ridden the heck out of all of those options and feel super confident recommending them to anyone looking for high performance coil shock options. You can also peruse the rest of our shock offerings if none of those are tickling your fancy and I’m sure that you’ll find something that fits the bill.
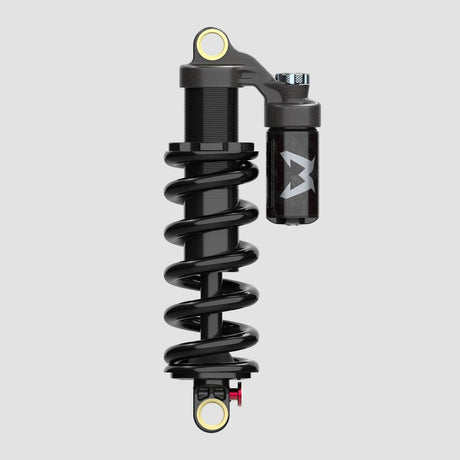
2) Finding The Right Size Shock
Now that you know which coil shock you want, you’ll need to get one that fits your frame!
The measurements you need to pay attention to are the eye-to-eye length, stroke length, and mounting interface. We strongly recommend sticking with the exact same size shock that you’re replacing, and I know it’s tempting to get a custom sizing to try to eke a little more travel out of your rear suspension, but hold your horses!
These frame manufacturers design their frames to work perfectly with the shock they spec on there, after all, if there was a better option, why wouldn’t they just put that on there in the first place? In case you want to learn more about eye-to-eye measurements and stroke length, we’ve got an in-depth video and article to clear everything up and answer any questions you might have!
3) Mounting Hardware
Before checking out, you’ll need to make sure you have everything you need to install the shock on your frame. If you’re replacing a shock that’s already on your frame, you’ll be able to reuse your mounting hardware, but if that’s not the case, it’s time to get fresh hardware too!
There are almost infinite sizes of mounting hardware, and without a little bit of direction it can be tricky to find out which ones you need for your specific frame. Most manufacturers have it listed on their website, and we’ve created a Shock Hardware Database that eliminates all of the guesswork and has details for models from all major manufacturers in one place. If you still need to know more, then here’s our Complete Guide to Shock Mounting Hardware that will have all of the answers you need.
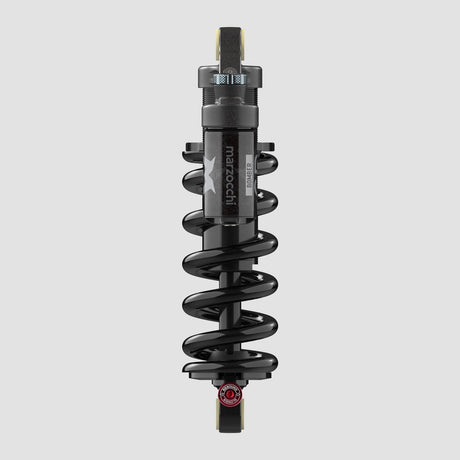
4) Finding The Right Size Coil
Before ordering the shock and mounting hardware, you’re going to need the coil itself as well!
Unfortunately, getting the right coil for your bike isn’t the most straightforward process, but guess what, we’ve got you covered! The tricky part about choosing the right coil is getting the right spring weight, and by using our Lost Co Spring Calculator, we’ll get you a great starting point for finding your spring weight. When you input your riding weight, shock stroke, and frame travel, you’ll get a ballpark figure for your initial spring rate. No spring calculator is a guaranteed perfect fit, but it is going to give you somewhere to start and help get close to 30% sag.
There are a bunch of options of springs out there, ranging from the basic, affordable, and linear steel springs to the expensive, lightweight, and progressive springs. We recommend getting an affordable linear heavy spring for your first spring instead of balling out on an expensive lightweight spring just to find out that it’s just slightly too stiff. Once you ride that affordable steel spring you’ll have some more perspective on what kind of spring rate you’ll want in the long term and whether or not your frame warrants a progressive coil. You could also get lucky and nail the spring rate on your first try, but more than likely you’ll need to get a second spring down the line to nail your sag point.
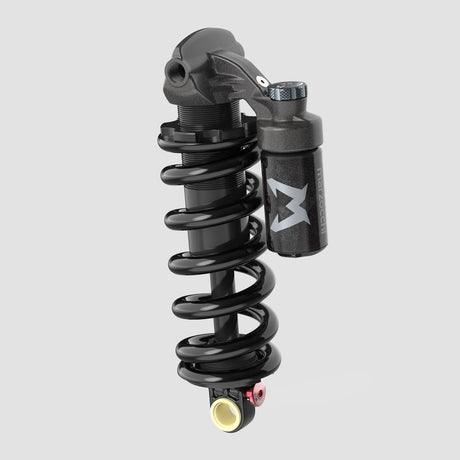
5) Installing The Coil Shock
Once you’ve got all of the parts on your work bench and you’re ready to install the parts on your bike, there isn’t that much that can go wrong as long as you’ve done everything else right until this point.
Your mounting hardware will need to get pressed in to the shock eyelets, and you may need to use a vice for this, especially if your shock and mounting hardware is brand new. If your shock has mounting hardware on both ends, make sure that you’re installing the correct hardware on the correct end so that your shock is oriented correctly in your frame! When installing the coil spring, just pop off the lower collar and slide the spring over the body of the shock. If your spring or shock came with adapters, you may need to slide those over the end of the spring depending on the spring and shock interface, you’re dealing with. Reinstall the lower collar and make sure the spring is firmly seated against it, then screw the upper collar down until it’s snug. We prefer not to crank down this collar more than necessary because it increases your breakaway force, which is counter productive to what we’re trying to accomplish with a coil shock in the first place.
Congratulations! Your coil shock is ready to get installed on your bike! Time to get the torque wrench out to make sure not to over tighten your bolts and then hit the trail. Depending on which coil shock you have, you have a few different dials on there to help perfect the feeling out on the trail. Suspension tuning is an infinitely deep rabbit hole, and we scratch the surface over in Part 3 of How To Set Up MTB Suspension. It’s important to understand how these dials affect your ride so you can keep playing with them as riding conditions change or you ride in a completely new area.
Summary
Well there you have it! That’s all the steps of switching out your air shock for a coil shock.
1) Choose a Shock
2) Finding The Right Size Shock
3) Finding The Right Mounting Hardware
4) Finding The Right Size Coil
5) Install The Coil Shock
All of these resources should guide you along nicely but the numbers and odd measurements add up fast, so if you get confused, reach out to our bike wizards and they will help you conjure up exactly what you need!
Now that your shock is installed, we welcome you to the cult of increased traction and more frequent bottom outs - we hope you enjoy your stay.