Intro
Metric shock sizing was introduced to cut down on the number of shocks manufacturers have to produce, and streamline the purchasing process for all of us. With these new shocks, each one allows for a few different stroke lengths. Rear shocks can be adjusted either by you at home or by us in the shop, depending on the model of shock. There’s still some confusion as to which shocks can be adjusted to what length of stroke, so today we’ll explain everything there is to know about restroking metric shocks.
Whether you’re ordering a new shock or resizing your current shock, there are a few numbers you need to pay attention to. There’s eye to eye length, stroke length, trunnion vs standard eyelets, and it can definitely get a little overwhelming with these technical terms,
but it’s all pretty simple when you break it down.
Variables
There’s just three variables you need to be aware of: Eye-to-eye length, stroke length, and mounting interface. Two of these are numbers, one is a physical attribute of the shock. All are clearly labeled on rear shock product pages.
Mounting Interface
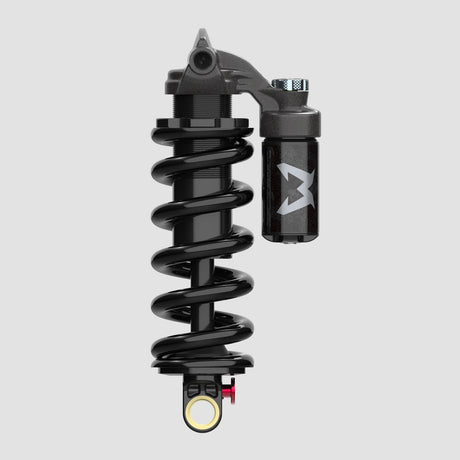
Your mounting interface is going to either be a trunnion or a standard, and these are not going to be interchangeable at all! The standard eyelets will have the same eyelets on both ends of the shock, while trunnion mounts will have the eyelet on one end but have this trunnion mounting interface on the other end. Trunnion mounting allows the shock to fit in smaller spaces and just be a little bit more compact. You aren’t able to change this! Whatever the shock comes with is what you’re stuck with, so make sure you get the right shock for your bike!
Standard eyelet mount
Trunnion mount
Eye-To-Eye
The first measurement is your eye to eye length.
This is the distance between the center of your eyelets on the standard mounting, and is the distance between the center of your eyelet and the center of your trunnion mount on the trunnion version. You also won’t be able to change this measurement! Wait a second, if we can’t change eye to eye length or our mountain interface, what can we change?
For eye-to-eye, measure from the center of one open eyelet, to the other
Stroke Length
We can change stroke length, which is just the total length that your shock can compress on bottom out. Stroke length is measured exactly the same way on a standard eyelet or a trunnion shock, and it’s super easy.
First, you need to know your eye-to-eye length when the shock is fully extended. Then, compress the shock completely, either by letting the air out or removing the coil. Then measure your eye to eye again and subtract that from your original eye to eye, and that’s your stroke length. So let’s dive into what kind of changes you can make to it!
Before we get into details, PLEASE do not increase your stroke beyond what your frame manufacturer recommends! This might seem like a free long travel conversion, but this can cause some serious issues with the frame bottoming out on itself and doing damage.
When I was young and dumb, I did this without checking first, and ended up with a big ‘ol dent in my seat tube, and i was bummed, so just don’t do it!
Any two metric shocks of the same eye-to-eye and mounting interface are the same shock - no matter what their stroke length is. The stroke length can be adjusted by adding or removing little spacers within the inner workings of the shock, allowing you to turn your 205x60 shock into a 205x65 shock, for example. This can be super helpful if you’re shopping for a shock and are able to find a shock with the right mounting interface and eye-to-eye, but the right stroke length isn’t in stock. In this case, you can still buy that shock and change the stroke to whatever you need! Or, if you’re switching things up and moving all your parts to a new frame and your shock isn’t the right stroke length, you might not need to buy a whole new shock.
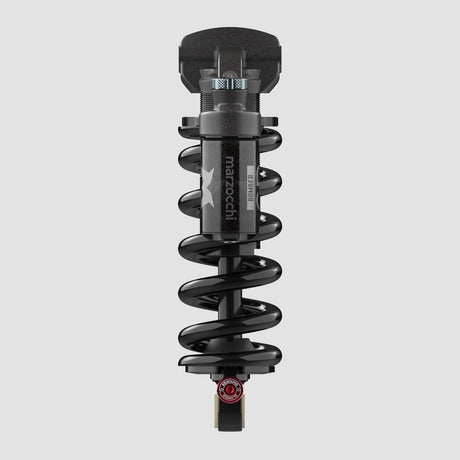
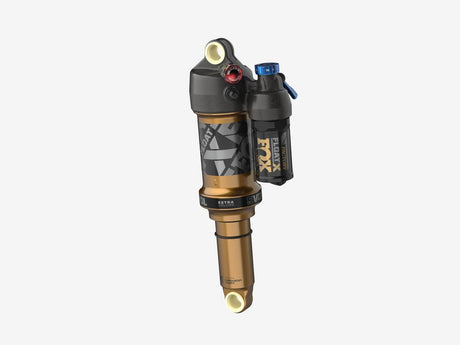
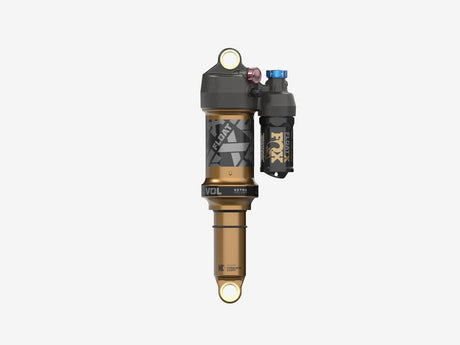
Now, the process of how you do this varies from shock to shock, and some of these you can even do on your own. For example, this is a very doable procedure for a competent home mechanic on the Fox DHX, the 2022 DHX2, Float X, and Marzocchi Bomber Air. The Float X2 is a bit of a gray area, and we only recommend attempting to change the travel on this shock if you’re already very comfortable opening that shock up and more importantly, putting it back together.
If you’ve got a different shock that’s not on that list, then we highly recommend sending it into a shop with specialized tools, like us here at The Lost Co. We do these travel changes almost every day, and if you buy one of those shocks that I mentioned earlier from us, then we’ll change the travel on them for free before shipping them out!

