Intro
The Stumpjumper EVO is one of the most popular trail bikes on the market right now, and after getting countless questions about the bike and what kind of modifications people should make to their Stumpjumper at home, Mike decided to build up his own Stumpy to get hands on knowledge with the frame and which components work well with the bike as a whole.
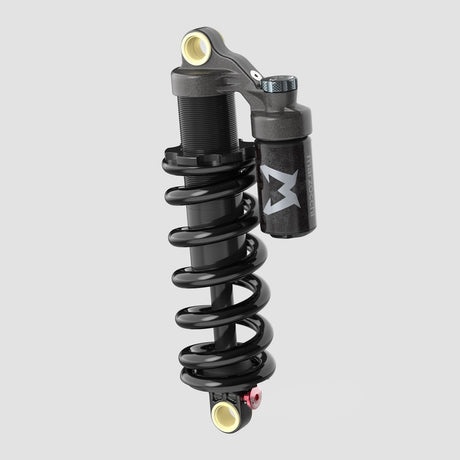
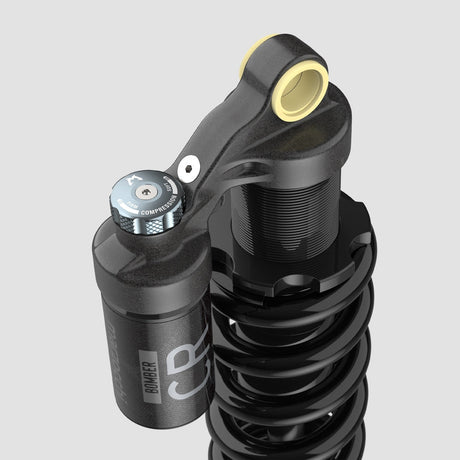
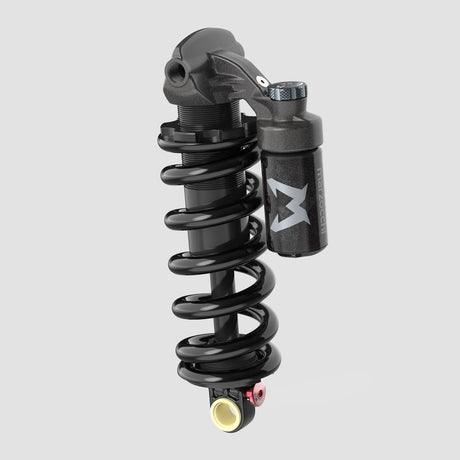
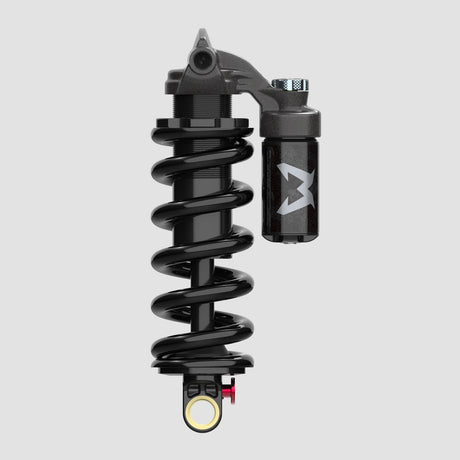
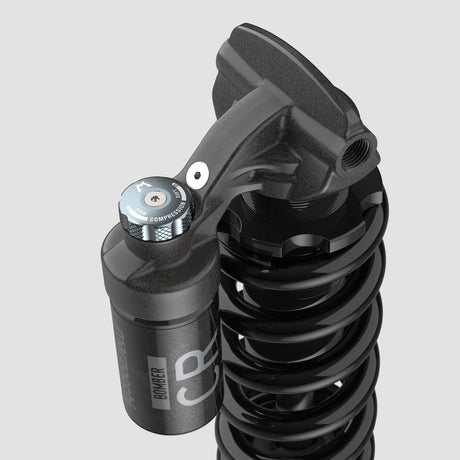
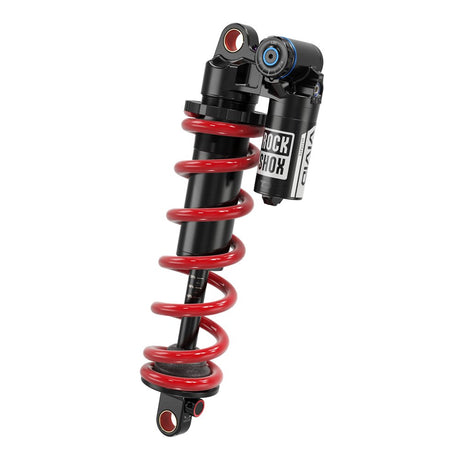
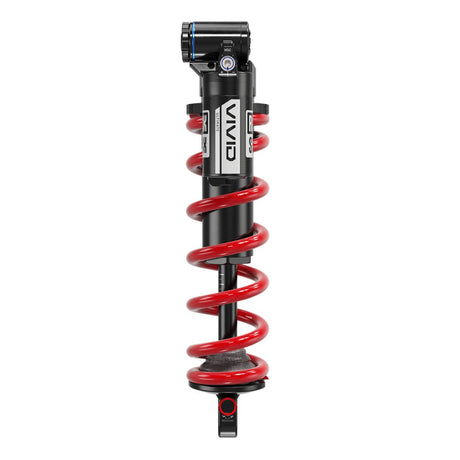
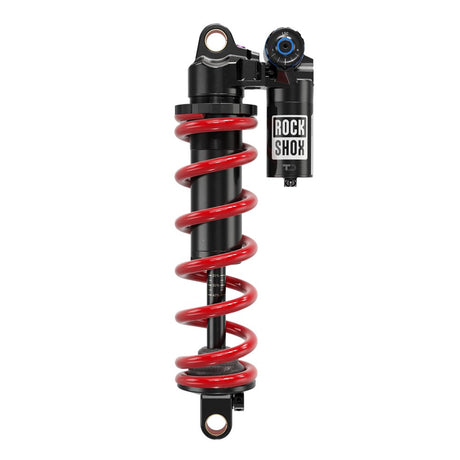
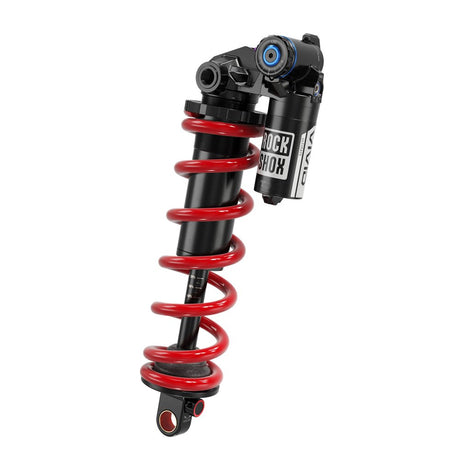
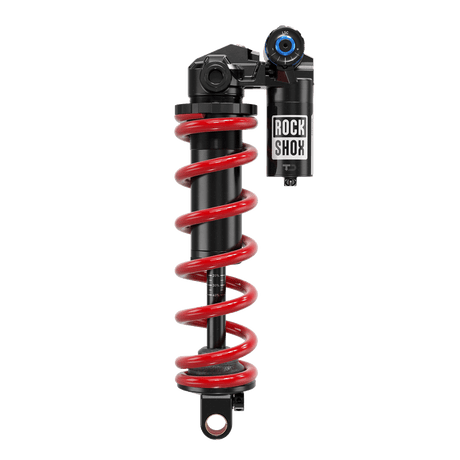
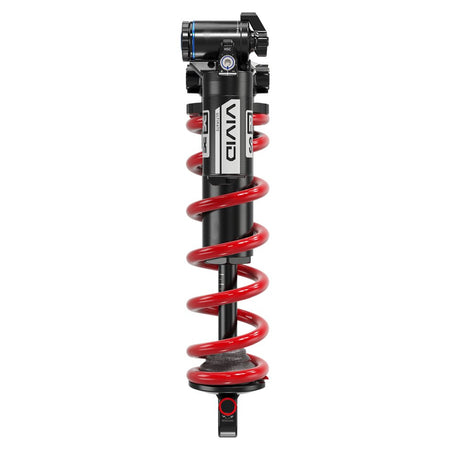
In this video series, Mike walks us through every step of his experiment with a RockShox Super Deluxe Coil Ultimate on his Stumpjumper EVO. This first video is a deep dive into the installation of the shock and finding his spring rate before hitting the trails, as well as Mike’s philosophy about spring rate calculators and how to use them as a tool to find your starting spring rate when installing a coil shock on your bike for the first time.
Installing A Coil Shock On Mike's Stumpy EVO
Compatability
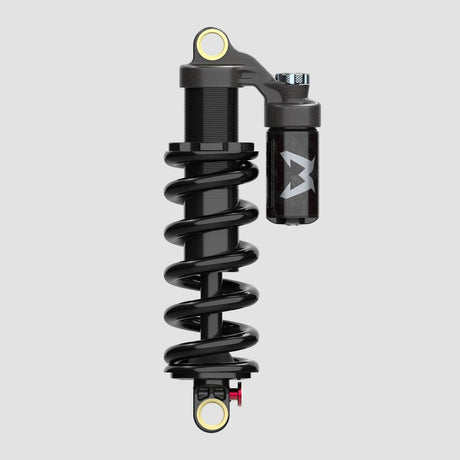
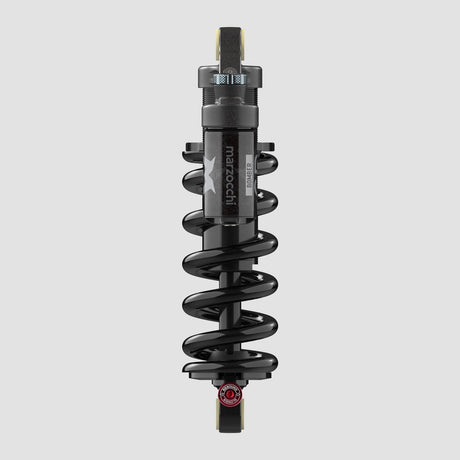
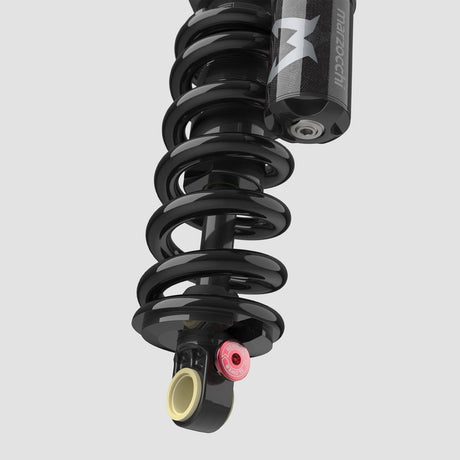
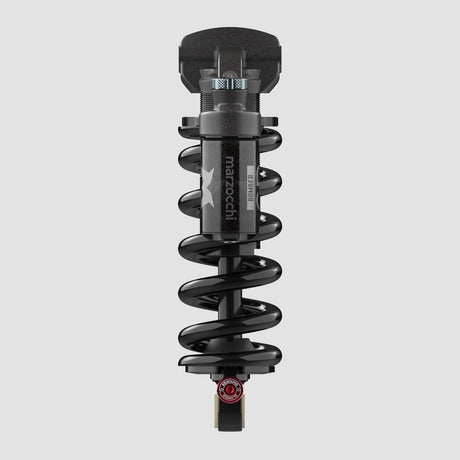
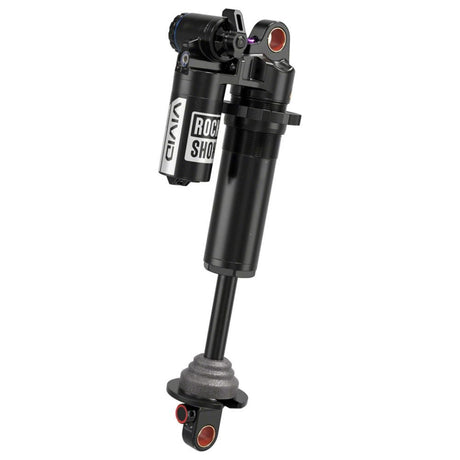
Before getting into the installation process, Mike breaks down the list of coil shocks that are compatible with the clevis and yoke suspension design found on the the Stumpjumper, Levo, and Status.
Because of the rear suspension design Specialized uses on these models, there is increased side load placed on the rear shock, and coil shocks are susceptible to breaking due to their narrower stanchion diameter compared to air shocks. By avoiding the coil shocks that are incompatible with this suspension design, you’ll have no issues with your shock failing and can have peace of mind out on the trails!
Stumpjumper EVO Coil Shock Compatbility
Finding The Correct Spring Weight
Finding your spring rate can be a daunting task, but with the spring calculator on our website, you’ll be able to quickly and easily find a starting point for your first spring. Without any reference, you would have no clue if you need to start with a 300 pound spring or a 600 pound spring, and our spring calculator gives you some context and tells you where to start with your spring rate journey. Mike put in his rider weight, wheel travel, and shock stroke to find his first spring rate. The calculator gave Mike a figure of a 477 pound spring rate, but because RockShox springs only come in 50 lb increments, he chose to spring up to a 500 lb spring because it suits his jumpy riding style a bit better. Other riders could choose to use a 450 lb spring if that suits them better for a more soft, DH type of feeling.
Fine Tuning
After measuring his sag with the 500 lb spring, Mike found that he wasn’t getting quite enough sag as desired and threw the 400 pound spring right back on there in hopes of increasing sag to somewhere around 30%. With the lighter spring, Mike was able to get the 28% sag he was looking for, and that just goes to show how spring calculators are meant to be used. By using the result as a starting point, Mike was able to use what he learned from the first spring to get his sag exactly right on the second spring. Now, he can now confidently spend a little more money on a progressive or lightweight spring to finetune exactly how his rear shock feels on the trails.
Stay tuned for part 2 where Mike actually rides this new shock and teaches you how he sets up brand new suspension and learns how twisting the knobs can change the feeling of his now coil shock.
Shop Rear Shocks For Specialized Stumpjumper EVO
Got questions? Feel free to shoot us an email or give us a call!
(360) 306-8827
sales@thelostco.com
ABOUT THE RIDER/WRITER
| NAME | AGE | HEIGHT | LOCATION |
|
Tor Weiland |
24 |
5'11" |
Bellingham, WA |
Current Bikes: Transition Spire Custom Build
Bike Size: Medium
Favorite Trails: Oriental Express, Galbraith
About Me: Hailing from the sunny landscape of California, Tor headed north and landed here in the cloudy town of Bellingham, WA. His riding style is "PINNED" and he loves to scope out those seemingly impossible triples. He loves riding and also loves sharing his experiences with others. You can catch Tor in front of the camera or behind the keyboard, but best of luck catching him on the trail!

